


News Center
—— NEWS CENTER ——
Xi'an Shenghongchuang Instrument Co., Ltd.
Contact: Mr. Zhang
Mobile: 15529283736
Email: shc-sensor@qq.com
Address: Fortune Building, Sanqiao Street, Xixian New Area, Xi'an, Shaanxi Province
Common Sources of Measurement Deviation in Radar and Ultrasonic Level Meters
Both radar level meters and ultrasonic level meters obtain level information through non-contact measurement, but the signal propagation mechanisms of the two types of sensors differ. Radar level meters calculate distance using electromagnetic wave echoes, while ultrasonic level meters convert the round-trip time of sound waves into level. When there is a deviation between the on-site displayed value and the manual dip measurement, first determine whether the deviation is fixed, increases with the level, or fluctuates randomly under specific operating conditions.
Fixed deviations are usually related to the empty tank distance, measuring range start point, installation height, or the correspondence of 4mA and 20mA outputs. For example, if the actual level is always 80mm lower than the displayed value, first check the zero offset and installation reference plane settings. If the deviation gradually increases as the level rises, the measuring range ratio, medium dielectric constant, sound velocity compensation, or linear conversion parameters may be incorrect.
For tanks with significant level fluctuations, abundant foam, or high vapor concentrations, signal quality directly affects measurement stability. Ultrasonic sensors are susceptible to temperature, pressure, vapor, and dust; radar sensors require particular attention to antenna condensation, material buildup, agitator reflections, and tank wall interference. Therefore, before calibration, do not merely adjust the displayed value; first eliminate abnormal on-site echoes.
First Distinguish Installation Errors from Sensor Errors
Improper installation position is a common cause of deviations in level measurement. Sensors should be installed away from inlet ports, agitator blades, coils, ladders, tank wall protrusions, and strongly reflective structures whenever possible. When installing on a cylindrical tank, the probe should generally not face directly toward the tank center or be too close to the tank wall, in order to prevent multiple echoes from entering the measurement window.
The installation reference plane must be consistent. The measuring distance of a radar or ultrasonic level meter is generally calculated from the sensor emission surface, antenna sealing surface, or transducer end face, whereas manual on-site dip measurement may use the tank-top platform, upper flange surface, or vessel bottom as the reference. If the two reference points are inconsistent, a continuous level deviation will occur even when the sensor operates properly.
It is recommended that maintenance personnel record three verification points at low, intermediate, and high levels during shutdown or when the level is stable. The manually measured values at these three points should be compared with the instrument displayed values. If the errors at the three points are similar, zero adjustment can be performed; if the errors at low, intermediate, and high levels are 20mm, 55mm, and 100mm respectively, further verify the full-scale distance and ratio parameters.
Typical Deviation Symptoms and Troubleshooting Directions
During on-site inspection, first confirm that the supply voltage, wiring shielding, and grounding condition are normal. For level transmitters with 4mA to 20mA output, it is recommended to use a high-precision multimeter or process calibrator to read the current value simultaneously and verify whether 4mA corresponds to zero level and 20mA corresponds to the set full level.
If a display control instrument is used, also check whether the decimal point, upper and lower range limits, and square-root or linear functions have been enabled incorrectly. If the sensor distance value is correct but the level value on the secondary instrument is incorrect, the issue is usually not with the level meter itself, but with signal conversion parameters or engineering unit settings in the control system.
When cleaning the radar antenna or ultrasonic transducer surface, do so only after power has been disconnected and process safety has been confirmed. For adhesive media, crystallization, condensate, and dust accumulation may change the effective emission surface, thereby causing echo attenuation. After cleaning, observe the echo curve again to confirm that the valid echo has returned to stability.
Standard Calibration Method for Radar Level Meters
Radar level meter calibration should preferably follow the sequence of “actual distance confirmation, parameter verification, and two-point or three-point validation.” First, measure the actual vertical distance from the sensor reference plane to the tank bottom and enter this value as the empty tank distance. If the tank bottom has a conical bottom, sediment layer, or process dead zone, use the actual measurable lowest level point as the zero point rather than mechanically applying the total vessel height.
Then set the full-scale distance or full level height. For example, for an 8m-high storage tank, if the distance from the probe reference plane to the measurable lowest level point is 7.80m and the highest operating level corresponds to a distance of 0.50m, the effective measuring range is 7.30m. Parameter settings should be based on the actual process range, with an appropriate blind-zone margin retained to avoid measurement distortion when the liquid surface enters the near-antenna zone.
During calibration, check the echo curve or echo strength value. Under normal conditions, the valid liquid surface echo should be clearly stronger than interference echoes and should move continuously as the level changes. If strong clutter occurs at a fixed position, false echo mapping can be performed when the tank is empty or at a stable low level, but avoid mistakenly recording the actual liquid surface echo as an interference signal.
Key Points for Verifying Radar Parameters
The dielectric constant of the medium affects the echo recognition capability of some radar level meters. Low-dielectric-constant media, such as certain oils, solvents, or light hydrocarbons, have relatively weak echoes and require suitable radar frequency bands, antenna types, and sensitivity parameters. For conductive liquids, water-based solutions, and most acid and alkali media, echoes are usually strong, but antenna blockage caused by material buildup should still be prevented.
Damping time should be set according to operating conditions. When the tank level is stable, it may be set to 3 seconds to 10 seconds to improve display stability; where rapid filling and discharge are required, damping should not be set too high, otherwise the level signal received by the control system will lag. Damping can only smooth the signal and cannot correct actual installation or range deviations.
When conducting two-point verification, positions at approximately 20% and 80% of the measuring range can be selected. For example, if the effective range is 5m, manually measured values can be compared near 1m and 4m respectively. Errors at the two points should be controlled within the process allowable range; if on-site requirements are high, it is recommended to add the 50% range point to confirm instrument linearity and consistency of the 4mA to 20mA output conversion.
Recommendations for Radar Level Meter Calibration Records
Each calibration should record the equipment model, installation method, medium name, medium temperature, tank height, empty tank distance, blind-zone distance, and output range. Complete records help determine whether subsequent deviations are caused by changes in process conditions and can reduce repeated adjustments resulting from different maintenance personnel using different references.
For level transmitters equipped with HART, RS485, or other digital communication functions, in addition to verifying the on-site display, internal distance values, echo quality, fault codes, and output current status should also be read. If the digital distance is correct but the analog current deviation is significant, focus on checking current output calibration; if the distance value itself is incorrect, return to troubleshooting the echo and installation conditions.
After calibration is complete, observe at least one complete level change cycle. Trends during filling, standing, and discharge should be consistent with actual process conditions; qualification should not be determined only at a single static level point. For critical storage tanks, it is recommended to establish the calibration interval in conjunction with medium buildup conditions, equipment operating frequency, and safety classification, generally with verification every 6 months to 12 months.
Key Calibration Points for Ultrasonic Level Meters
The measurement accuracy of ultrasonic level meters is closely related to air propagation conditions. Temperature changes alter the speed of sound; under ambient temperature conditions, the speed of sound changes by approximately 0.6m/s for every 1°C change in temperature. For sites with large measuring ranges or significant day-night temperature differences, confirm that the built-in temperature compensation functions properly; the suitability of ultrasonic solutions should be carefully evaluated in high-temperature, negative-pressure, vapor, and strong airflow environments.
Before calibration, confirm that the ultrasonic probe is oriented vertically toward the liquid surface and that the installation flange does not obstruct the sound wave emission angle. The sound wave path below the probe should be kept as unobstructed as possible, avoiding brackets, beams, level switches, or piping within the beam range. For narrow and elongated vessels, a stilling tube or guide pipe may be used to reduce the effects of liquid surface fluctuations and obstacle reflections.
Foam is a significant interference factor in ultrasonic level measurement. Loose foam absorbs sound waves, resulting in weakened echoes or low measured values; dense foam may be mistaken for the actual liquid surface. If on-site foam thickness frequently exceeds 50mm to 100mm, assess the use of radar level meters, hydrostatic level transmitters, or other suitable sensor solutions according to the medium and process conditions.
Ultrasonic Empty Height and Full-Scale Settings
When setting the empty height, use a tape measure, laser distance meter, or a verified manual measurement method to obtain the actual distance, and clearly define the measurement starting point. If the probe is installed inside an extension pipe, confirm whether the extension pipe length has been included in the instrument distance calculation. Uneven extension pipe inner walls or excessive condensate may also produce early reflection echoes.
The full scale must not simply be set to the geometric height of the vessel. Consider the ultrasonic blind zone, high alarm level, overflow risk, and usable process space. In general, the highest liquid surface should maintain the minimum distance from the probe emission surface required by the equipment manual, such as 300mm, 500mm, or more; the specific value should be based on the sensor model specifications.
After entering the parameters, use manual dip measurement to compare low, intermediate, and high level points, and record the on-site temperature. If the same level changes noticeably with large temperature differences between morning and evening, check whether the temperature compensation probe is damaged, exposed to direct sunlight, or affected by high-temperature vapor.
Measures to Optimize Signal Stability
The response speed and filtering parameters of an ultrasonic level meter should match actual liquid level changes. For ordinary liquid storage tanks, an averaging time of approximately 5 seconds may be set appropriately; for locations with rapidly fluctuating levels, such as pump pits and lift shafts, the filtering time should be shortened and combined with appropriate start-stop level control logic to avoid frequent cycling.
If echo loss occurs frequently, check whether the probe surface has water droplets, oil contamination, scale, or dust. When cleaning, use a soft cloth suitable for the sensor material and avoid scratching the transducer surface with hard objects. For outdoor installation equipment, also check the rain cover, cable sealing, and water ingress into the junction box.
When continuous vapor, strong negative pressure, corrosive gases, or large amounts of light foam are present in the vessel, deviations are difficult to resolve long-term solely through parameter calibration. In this case, evaluate solutions such as radar, guided wave radar, and hydrostatic level transmitters from the perspective of sensor selection, so that the measurement principle matches the on-site medium characteristics.
Establishing a Traceable Level Sensor Maintenance Process
Level meter calibration should not be performed only after a fault occurs. It is recommended to establish a periodic on-site inspection system, focusing on installation fastening condition, antenna or transducer cleanliness, wiring sealing, power supply stability, displayed value trends, and alarm operation. For critical process points, level sensor deviation records may be incorporated into the equipment ledger.
During maintenance, distinguish between “measurement calibration” and “output calibration.” The former is used to correct distance, empty height, range, and echo identification; the latter is used to verify the accuracy of output points such as 4mA, 12mA, and 20mA. If a 250Ω resistor is used for HART communication, also confirm that the loop load meets communication requirements to prevent abnormal parameter reading or writing due to insufficient loop conditions.
Xi'an Shenghongchuang Instrumentation Co., Ltd. addresses sensor application scenarios and can, in combination with on-site supporting requirements for pressure, level, flow, temperature and humidity, and intelligent digital display control instruments, help users clarify the relationships among measurement references, signal outputs, operating condition compatibility, and control interlocking. Through standardized selection, accurate installation, and regular verification, the impact of level deviations on production safety and process control can be reduced.
Post-Calibration Acceptance and Recommended Actions
Calibration acceptance should include at least three aspects: consistency between the level display and manual measurement values, consistency between analog output and control system readings, and trend stability during level changes. For equipment with interlock functions, alarm setpoints such as high-high level and low-low level should also be verified under safe conditions to confirm correct alarm signal transmission.
If the deviation still exceeds the process allowable range after multiple adjustments, stop repeatedly modifying parameters and recheck whether the sensor range covers the on-site requirements, whether the installation position is within an interference zone, whether the medium is suitable for the current measurement principle, and whether the manual dip measurement reference is reliable. When necessary, use a comparison instrument for cross-validation to avoid calibrating the sensor using an incorrect reference value.
For issues such as inaccurate display of radar or ultrasonic level meters, signal fluctuations, or abnormal 4mA to 20mA output, compile the equipment model, medium name, tank dimensions, installation photos, current parameters, and manual measurement data, then contact technical personnel at Xi'an Shenghongchuang Instrumentation Co., Ltd. for targeted analysis, so that a calibration solution or suitable sensor configuration can be determined as soon as possible.
Related Recommendations
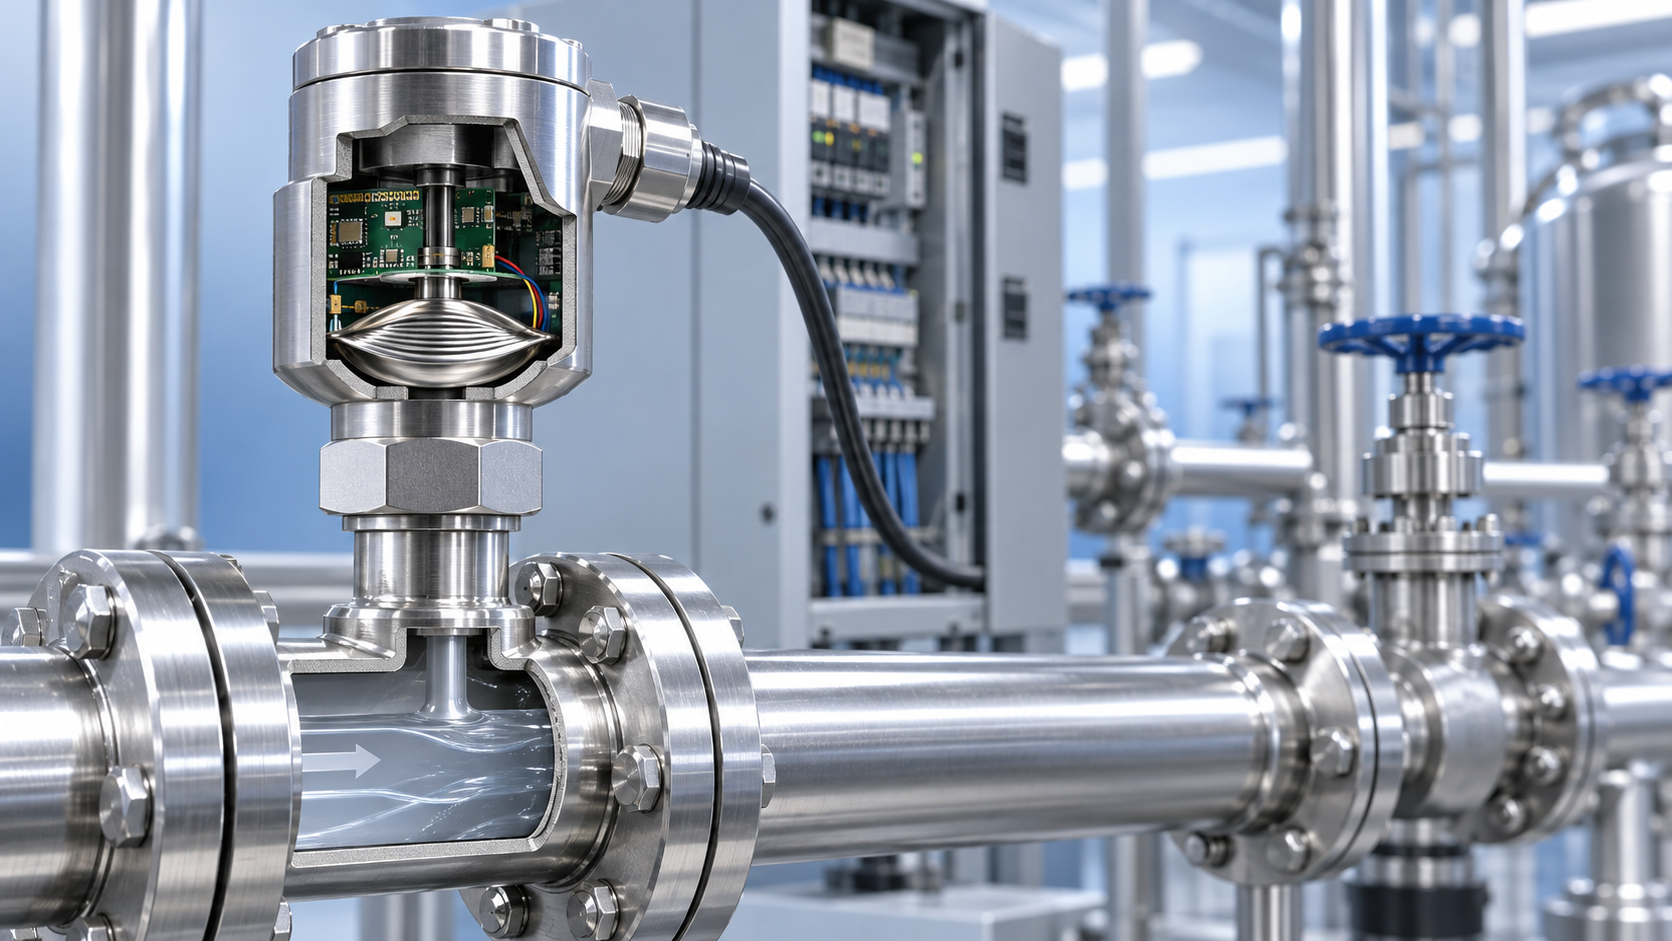
 How does a pressure sensor convert changes in applied force into usable electrical signals?
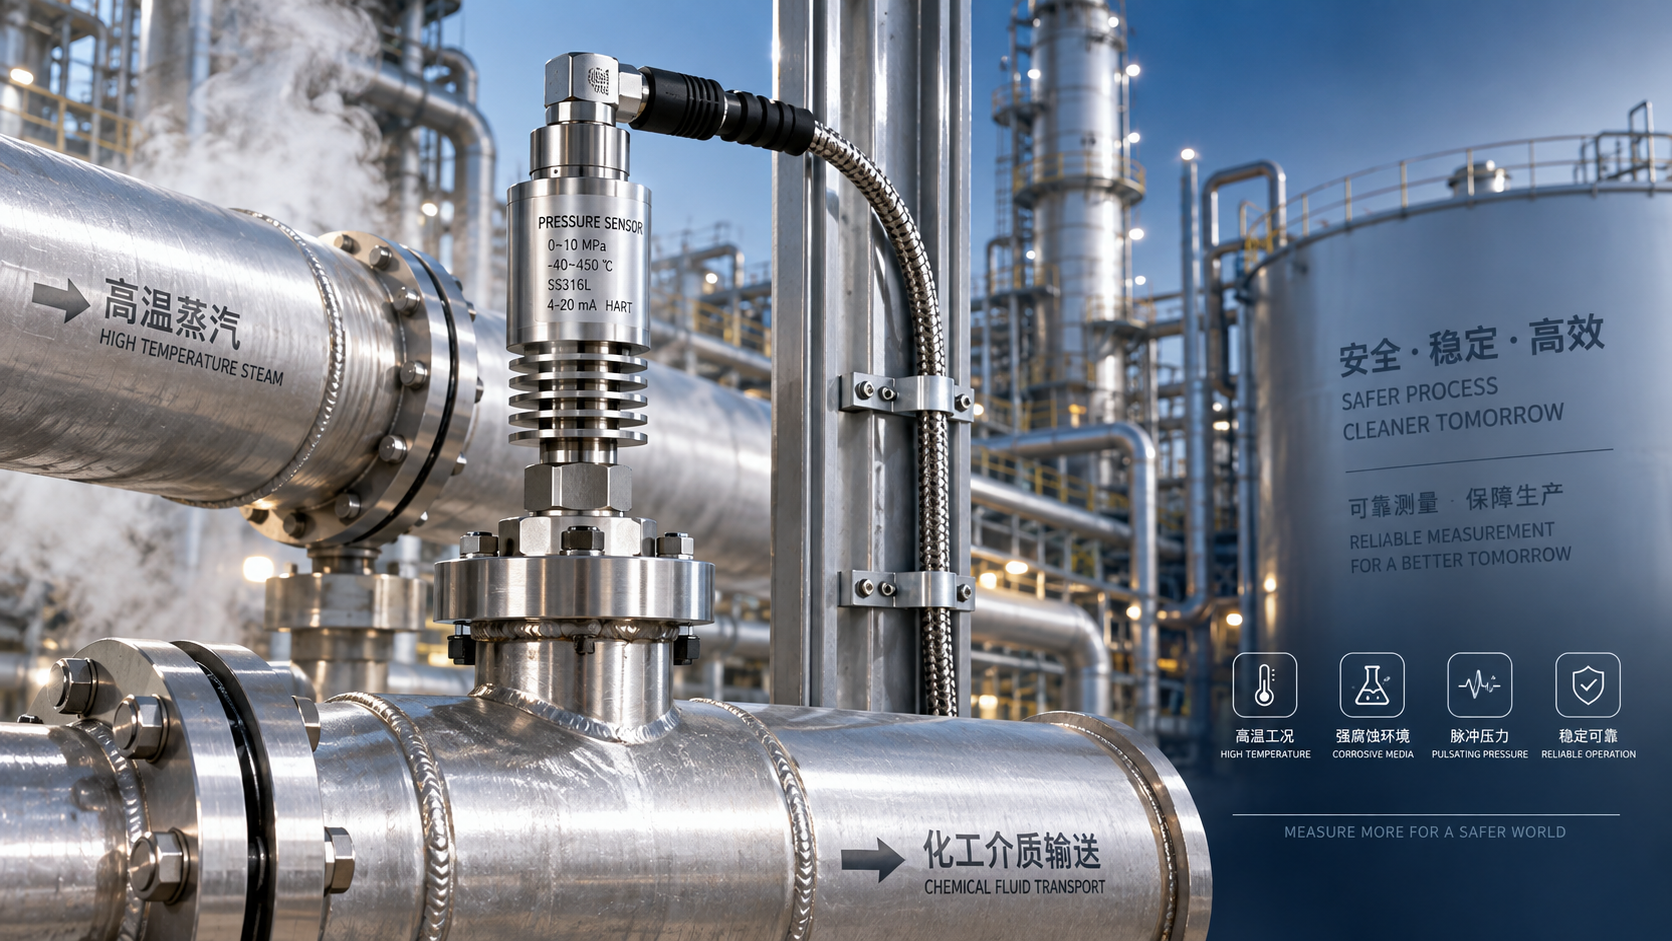
 Which parameters should be considered when selecting pressure sensors for high-temperature, corrosive, and pulsating operating conditions?
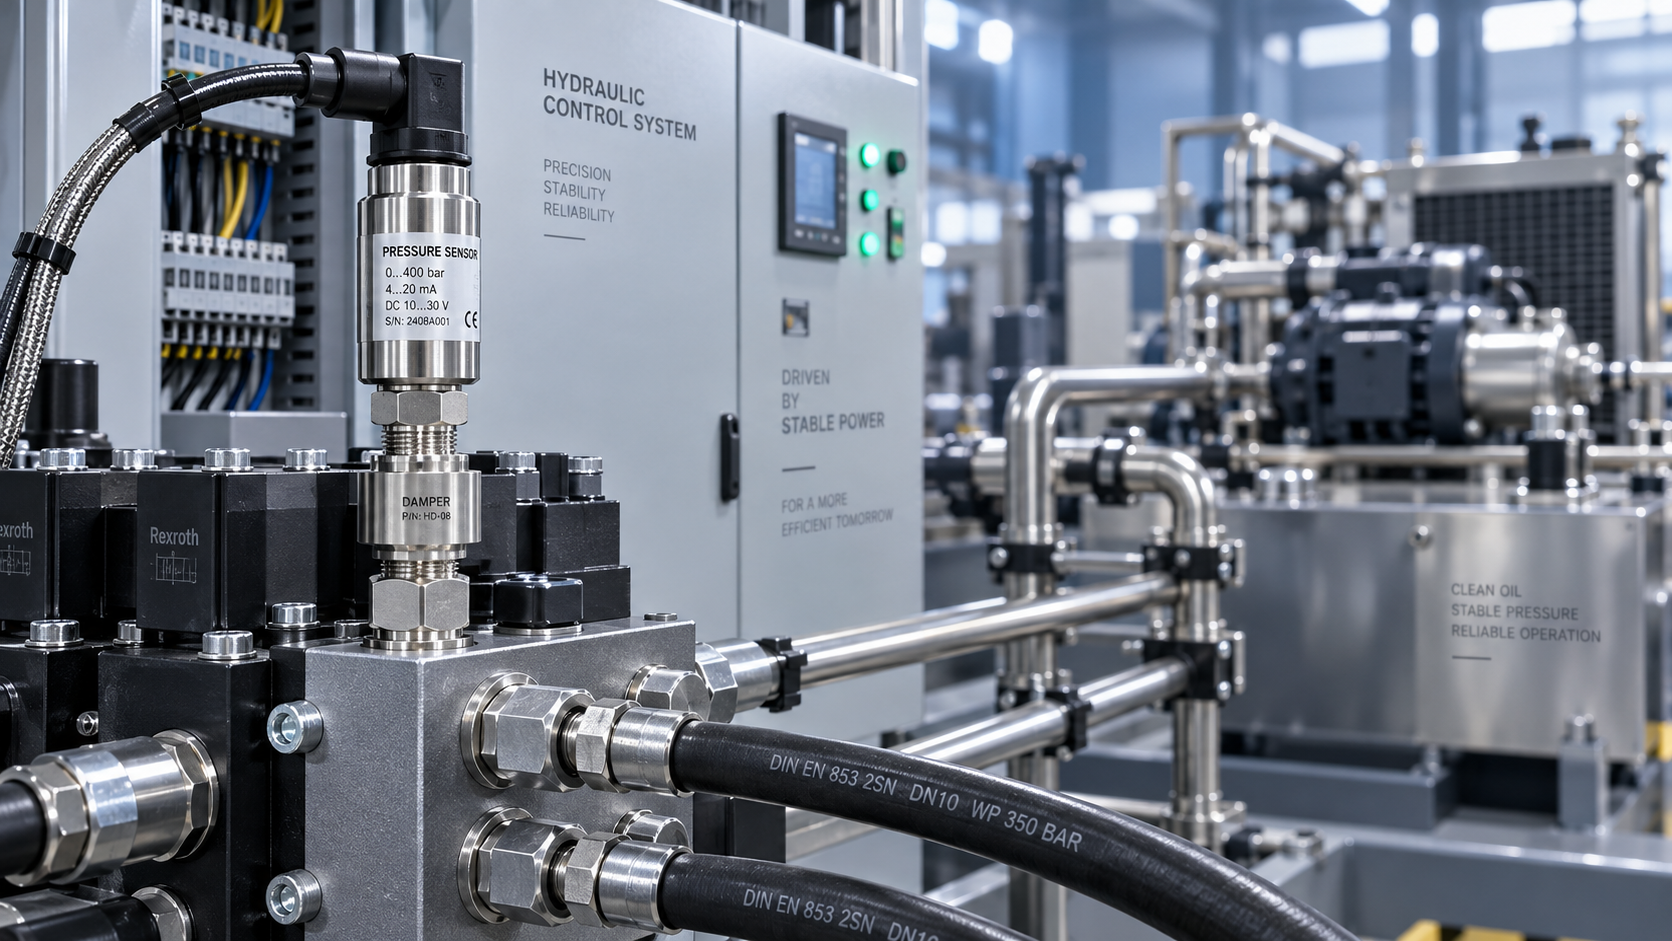
 Hydraulic equipment pressure fluctuates frequently. How can sensors be configured to improve control stability?
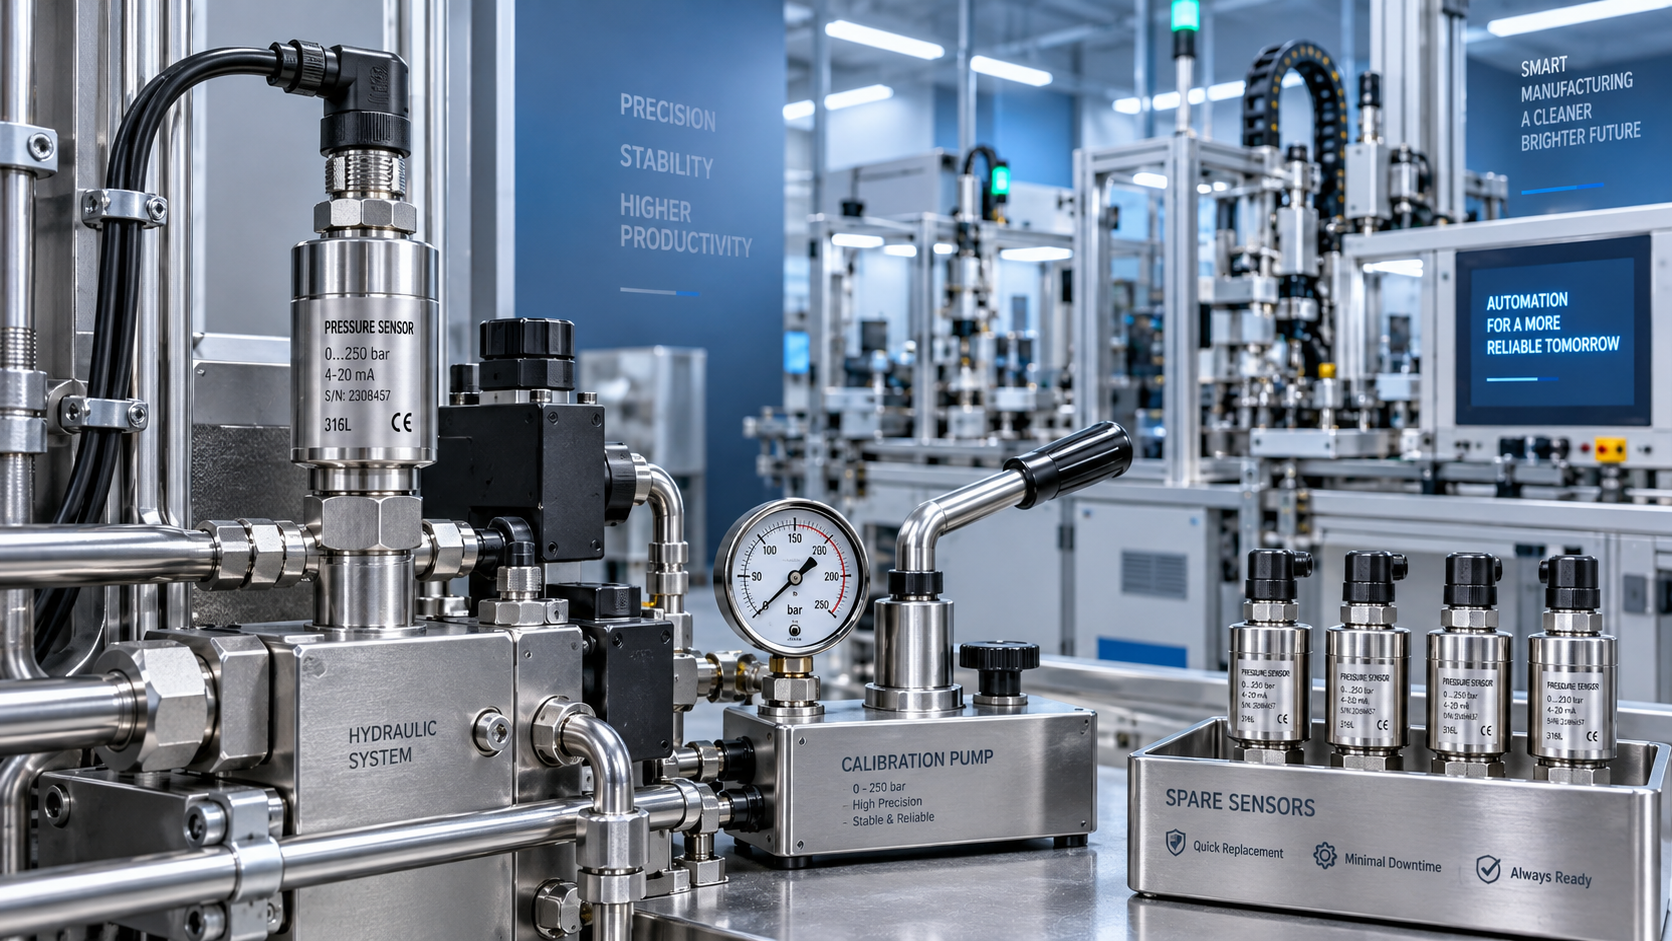
 When purchasing pressure sensors, how can you evaluate service life and total maintenance costs beyond the unit price?