


News Center
—— NEWS CENTER ——
Xi'an Shenghongchuang Instrument Co., Ltd.
Contact: Mr. Zhang
Mobile: 15529283736
Email: shc-sensor@qq.com
Address: Fortune Building, Sanqiao Street, Xixian New Area, Xi'an, Shaanxi Province
How to Plan an Instrument Control Panel? Key Points for Sensor Signal Integration and Panel Layout Design
How the instrument control panel is planned directly affects the efficiency of sensor signal integration, system stability, and later O&M costs. For project owners, reasonable panel layout, wiring logic, and functional zoning are key to improving project delivery quality and on-site management efficiency.
In actual projects, many problems do not arise from the equipment itself, but from insufficient early-stage planning. If an instrument control panel only considers “fitting everything in,” issues such as signal interference, circuit confusion, difficult maintenance, and limited expansion capacity are likely to occur later. Especially in scenarios with many sensor types and complex signal forms, clearer early-stage design makes later implementation easier and less labor-intensive.
First, define the functional boundaries of the instrument control panel
When planning an instrument control panel, the first step is not to draw the panel, but to define the control objectives first. It is necessary to determine how many signal channels need to be collected, which are analog signals, which are switch signals, which signals need alarm linkage, and which are for display only. These should all be clarified in advance.
If a project involves multiple parameters such as pressure, flow, temperature and humidity, displacement, and weight, it is recommended to first divide signal sources according to the process flow, and then divide input connections according to control functions. The benefit of doing so is that the structure of the instrument control panel will be more orderly, and later coordination will also make it easier to locate issues.
A practical approach is to focus planning on three dimensions: signal type, operating frequency, and maintenance difficulty. Frequently operated instruments should be placed in the front area, key alarms in the central field of view, wiring-dense areas separated from high-voltage areas, and the overall setup will be more stable.
For sensor signal integration, first organize the circuit logic
Whether an instrument control panel can operate stably depends to a large extent on the signal integration method. Common input signals include 4-20mA, 0-20mA, 0-5V, 1-5V, 0-10V, and switch output. Before mixing different signals, it is necessary to confirm the compatible range of the acquisition module first.
On-site, analog circuits are most likely to encounter two types of problems. The first is unstable power supply, and the second is wiring interference. Especially when inverters, motors, and heating equipment are present on site, if weak-current signal wiring is not properly routed, the displayed value on the instrument control panel is likely to fluctuate.
Therefore, the following points can be prioritized during input design:
- Separate analog signals, switch signals, and power lines in trenches for wiring.
- Ground shielded cables at one end to avoid multi-point grounding.
- Use unified power supply specifications for the same type of sensor as much as possible.
- Keep clear numbering and terminal identification for each signal channel.
- Reserve 10% to 20% expansion space.
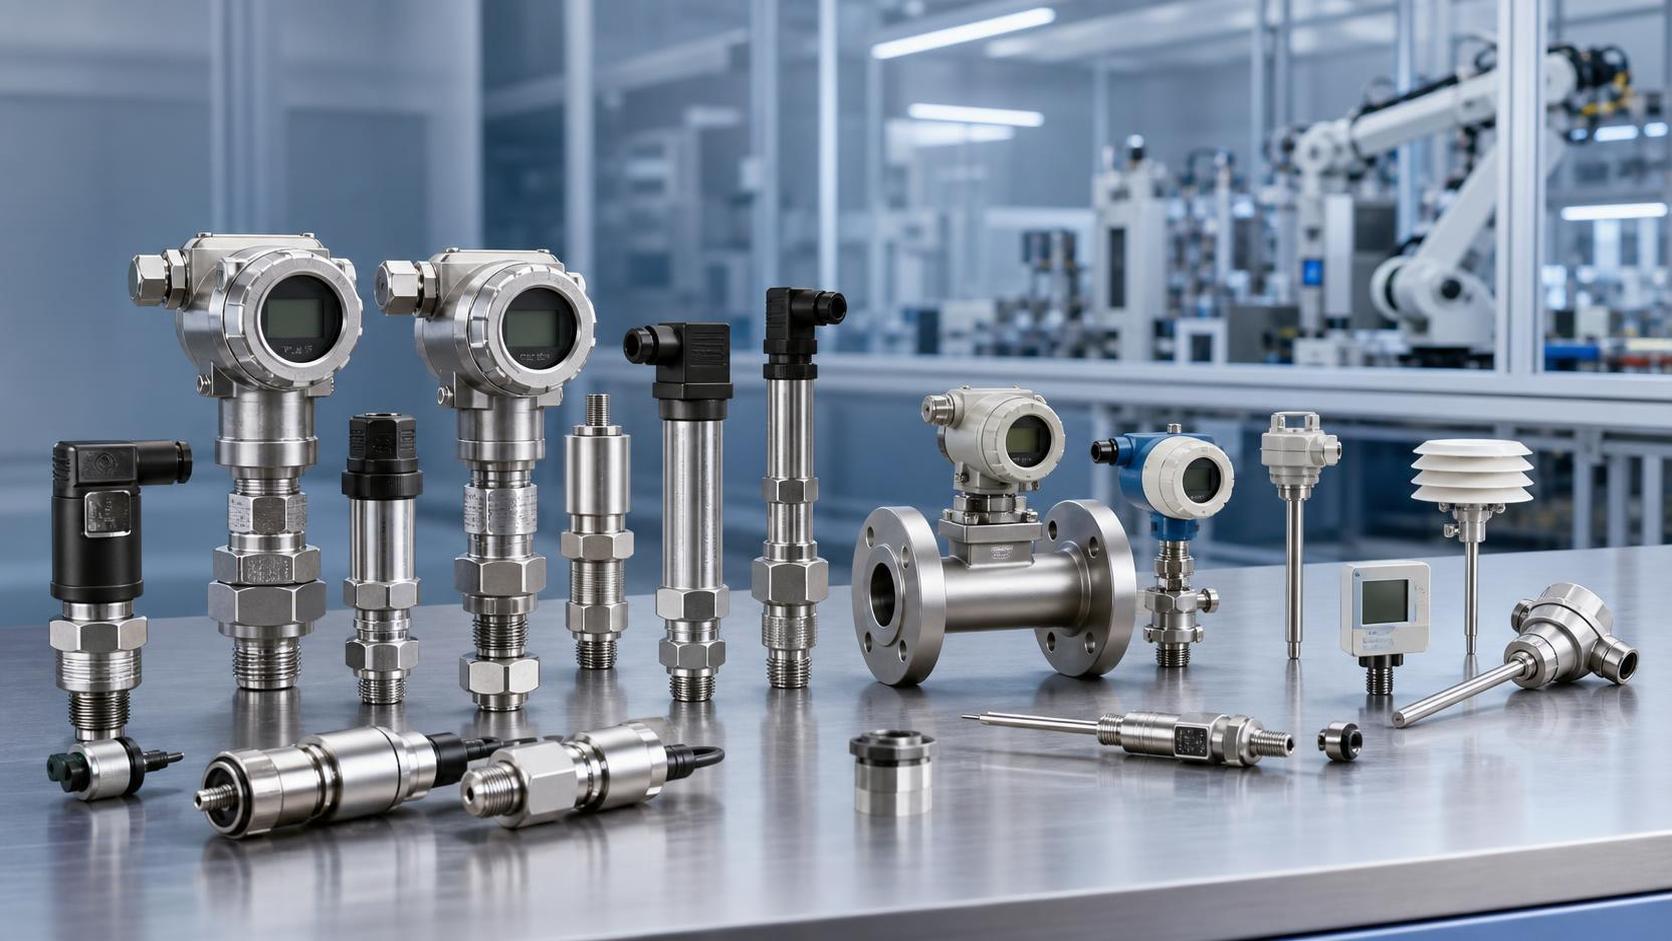
If the project includes pressure detection points, the input conditions of the instrument control panel should be considered simultaneously during model selection. For example, Domestic general-purpose pressure transmitter DHKA8 water oil gas pressure sensor supports 4-20mA, 0-20mA, and multiple voltage signal outputs. When integrated at the front end of the control panel, it is easier to match existing systems and can also reduce additional conversion steps.
Panel layout design: the focus is not appearance, but operating path
Many people, when designing the layout of an instrument control panel, tend to only look at the equipment dimensions and ignore the usage scenario. In fact, the core of panel layout is to enable quick identification, quick operation, and quick judgment of status, rather than simply arranging the components neatly.
A mature layout approach usually follows the principle of “monitoring on top, operation in the middle, protection at the bottom, and auxiliary on the side.” Displays and alarm indicators are placed in the main viewing area, buttons and selector switches are placed in the frequently used area by hand, and circuit breakers, relays, etc. are arranged in relatively independent positions.
If there are many control objects, it is recommended to divide them by process unit rather than scatter them by component type. For example, one pump set, one pipeline set, and one heating set each form independent functional modules. In this way, viewing drawings, operation, and training will all be more intuitive.
- Place main parameters in the upper-middle area for convenient standing inspection.
- Keep an appropriate distance between emergency stop and normal control buttons.
- Avoid overly dense placement of high-frequency operating components.
- Keep label naming consistent with the system drawings.
- Consider indicator lighting for nighttime or low-light scenarios.
This type of layout is very helpful for project implementation. Once the instrument control panel enters the coordination stage, on-site personnel need to confirm status frequently. A clear layout reduces communication costs and lowers the probability of misoperation.
Selection should be synchronized with control panel design
A lot of project issues arise because sensors are purchased first and the instrument control panel is designed later, resulting in mismatched interfaces, unsuitable measuring ranges, and inconsistent power supply methods. A more stable approach is to plan sensor selection and control panel design in the same stage.
Using pressure detection as an example, it is necessary to confirm the measuring range, medium characteristics, installation interface, output signal, and ambient temperature at the same time. For general-purpose products like DHKA8, the pressure measuring range can be selected within -0.1~100MPa, the power supply supports 24VDC and 12-36VDC wide voltage, making it suitable for a unified integration approach in various engineering sites.
If the medium is a gas or liquid with corrosion resistance for 316L stainless steel, this type of pressure transmitter has more advantages in compatibility. For projects requiring high-temperature measurement, long-term continuous operation, and high anti-interference capability, writing these conditions into the selection sheet in advance can help avoid many detours.
From delivery and O&M, the instrument control panel should still leave room for expansion
A truly practical instrument control panel is not one that only looks complete at delivery, but one that remains easy to maintain three months or even half a year later. Common changes on site include adding measurement points, replacing sensors, optimizing alarm logic, and adding communication modules. These all test whether there was sufficient margin in the early-stage design.
It is recommended to reserve terminal strip space, cable trough capacity, backup power capacity, and installation holes inside the control panel. One clearer signal is that many later rework jobs are not caused by scheme errors, but because no expansion space was reserved at the beginning. What seems to save money at first often leads to higher costs later.
At the same time, documentation management cannot be missing. The circuit diagrams, terminal schedules, point schedules, alarm logic sheets, and equipment code tables of the instrument control panel are best standardized into a unified version before delivery. During later inspection and maintenance, consistency between the drawings and the现场 can greatly improve handling efficiency.
Putting instrument control panel planning first makes the project smoother
In real applications, an instrument control panel is not just a simple mounting carrier, but a core node connecting sensors, acquisition systems, operators, and O&M processes. When planning is clear, sensor signal integration becomes more stable, panel layout becomes more efficient, and later maintenance becomes easier.
For projects involving multi-parameter acquisition such as pressure, flow, temperature and humidity, weighing, and force measurement, the instrument control panel should be incorporated into the overall scheme evaluation at an early stage. Enterprises like Xi'an Shenghongchuang Instrument and Meter Co., Ltd., which have long been deeply engaged in sensors and intelligent digital display control instruments, can provide more complete selection and integration ideas for different working conditions.
If the current project is in the scheme refinement stage, it is advisable to review it first from four aspects: signal list, function zoning, panel wiring, and expansion margin. Once these key points are sorted out, the quality of the instrument control panel design usually improves by one level, and project implementation will also be more stable.
Related Recommendations
 What Should You Look for in a Pressure Transmitter Factory? Don’t Miss These 7 Points During an On-Site Inspection
 What Is the Difference Between Pressure Transmitter Manufacturers and Suppliers? A Complete Guide for Procurement Professionals
 What Cooperation Models Are Suitable for Pressure Transmitter Sales Manufacturers? An Analysis of Distribution, Direct Procurement, and Project Support
 How Does a Pressure Transmitter Manufacturer Ensure Consistency? A Look at the Full Process from Incoming Materials to Final Testing