


News Center
—— NEWS CENTER ——
Xi'an Shenghongchuang Instrument Co., Ltd.
Contact: Mr. Zhang
Mobile: 15529283736
Email: shc-sensor@qq.com
Address: Fortune Building, Sanqiao Street, Xixian New Area, Xi'an, Shaanxi Province
Systematic Troubleshooting Methods for Abnormal Signals in Radar Remote Digital Level Gauges
Radar remote digital level gauges calculate the liquid level distance by transmitting and receiving microwave signals, and display the measurement results on local instruments or transmit them to control systems such as PLCs, DCSs, and recorders. Common manifestations of signal abnormalities include fluctuating local digital displays, continuous full-scale or zero-level readings, unchanged remote values, communication interruptions, frequent alarms, and measurement values that differ significantly from the actual liquid level.
Troubleshooting should follow the sequence of “power supply and wiring first, parameters and communication second, and installation and operating conditions last.” Maintenance personnel should not repeatedly modify the range, damping, or empty-tank parameters before identifying the fault location, as this may conceal the original fault symptoms and increase the difficulty of restoring normal parameters afterward.
Xi'an Shenghongchuang Instrumentation Co., Ltd. recommends recording the current displayed level value, remote output value, alarm code, supply voltage, wiring terminal condition, and recent operating condition changes before on-site maintenance. Retaining this basic information helps distinguish false signals caused by sensor faults, wiring faults, and process conditions.
First Confirm the Fault Symptoms and Safety Conditions
Distinguish Between Local Display Abnormalities and Remote Transmission Abnormalities
If the local digital display of the level gauge is normal but the value received in the control room is abnormal, the fault is usually located in the 4~20mA loop, RS485 communication line, isolator, safety barrier, PLC analog input channel, or configuration parameters. In this case, the radar probe should not be removed hastily; priority should be given to comparing the local display value with the engineering value in the control system.
If both the local digital display and the remote signal are abnormal, focus on checking the instrument power supply, probe echo status, installation position, medium operating conditions, and internal instrument parameters. For example, a digital display that continuously shows “0.000m” or a fixed distance may indicate echo loss, incorrect range settings, or severe probe contamination.
Before inspection, confirm the vessel pressure, temperature, medium corrosiveness, and hazardous-area classification. For pressurized vessels, flammable or explosive media, or high-temperature liquids, it is prohibited to open flanges, loosen probes, or open explosion-proof wiring chambers without obtaining work permits and implementing process isolation.
Reference for Common Abnormal Symptoms
For intermittent abnormalities, record the specific periods when the fault occurs. If the issue arises only during variable-frequency drive startup, high-power motor operation, thunderstorms, or rapid liquid level changes, it is usually related to electromagnetic interference, grounding, echo quality, or process fluctuations rather than simple instrument damage.
Check the Power Supply, Wiring, and 4~20mA Output Loop
Supply Voltage Must Be Within the Permitted Instrument Range
Two-wire radar level gauges commonly use a 24VDC power supply, but the actual permitted voltage range should be based on the nameplate and instruction manual. During maintenance, measure the voltage directly at the instrument terminals rather than only measuring the control cabinet power output. Excessive cable length, terminal oxidation, or excessive voltage drop across the safety barrier may reduce the terminal voltage below normal operating requirements.
First disconnect non-essential loads and measure the no-load and loaded voltages. If a nominal 24VDC supply is below 18VDC at the instrument terminals, some devices may experience dim displays, output drift, communication failure, or intermittent restarting. If power supply ripple is significant, also check for switching power supply aging and shared-load impacts.
Confirm that the positive and negative polarities are correct, especially after replacing instruments, adding isolators, or modifying control cabinets. Reverse-polarity protection does not mean that the instrument can operate with reversed polarity for an extended period. Incorrect wiring may cause no output, abnormal loop current, or terminal heating inside the explosion-proof wiring chamber.
Use a Multimeter to Locate Current Signal Faults
The 4~20mA output is a key basis for determining the condition of the remote transmission link. When connecting a multimeter in series to measure the loop, select the DC milliampere range and avoid mistakenly connecting it to the voltage range, which may interrupt the loop. If the instrument supports an analog output test function, output 4mA, 12mA, and 20mA separately to check whether the control system display corresponds to the lower range limit, midpoint, and upper range limit.
If the output current at the instrument is correct but the control room display is incorrect, check for cable core breaks, loose terminals, surge protectors, isolators, and analog modules. If the current at the instrument remains at 3.6mA, 22mA, or another fixed fault current for an extended period, determine whether it is in a fault hold state based on the instrument alarm code.
Shielded twisted-pair cables should be used for wiring, and signal cables should be routed separately from power cables wherever possible. A parallel separation distance of no less than 300mm is recommended. When variable-frequency drives or motor cables cannot be avoided, use metal cable trays for isolation and reliably ground the shield at one end in accordance with site grounding specifications.
Reference for Verifying Current and Liquid Level Engineering Values
Verify Communication Parameters and Digital Display Instrument Settings
Key Points for Troubleshooting RS485 Communication Abnormalities
When RS485 or Modbus RTU is used for remote transmission, verify the device address, baud rate, data bits, stop bits, and parity method item by item. Common baud rates are 9600bps or 19200bps, but the parameters of all devices on the same bus must be consistent. Duplicate addresses can cause data interference or polling failures.
When checking the definitions of A and B wires, do not rely solely on wire colors. Terminal markings from different manufacturers may use A/B, D+/D-, or 485+/485-. If the wires are connected in reverse, some devices will not be damaged, but the master station will be unable to read data normally. Check terminal crimping strength with the power off to avoid loose connections and oxidation.
When the bus is long or there are many field devices, check end-of-line termination resistors and communication shielding. In general, when the communication trunk exceeds 500m, there are many nodes, or the electromagnetic environment is complex, wiring should be carried out in accordance with specifications. Excessively long branches, star wiring, and multi-point grounding of the shield can all cause data frame errors.
Check Range Conversion and Alarm Logic
Radar level gauges usually use distance or liquid level height as internal measurement values, while digital display instruments and PLCs may display values in millimeters, meters, percentages, volume, or tonnage. When the “actual liquid level is correct but the displayed value is incorrect,” focus on checking engineering units, upper and lower range limits, square-root function, reverse range, and decimal point position.
For example, when the range is set to 0~5m, 12mA theoretically corresponds to 2.5m; if the control system displays 2500mm, the unit conversion is normal. If it displays 5000mm or 0mm, the AI channel range, scaling factor, or upper and lower limit parameter settings may be inconsistent.
Alarm upper and lower limits, alarm delay, and fault current identification should also match process requirements. For vessels whose liquid level is significantly affected by pump start-stop operation, a damping time or alarm delay of 3~10 seconds can be set appropriately to reduce false alarms caused by transient fluctuations. However, damping should not be set excessively high, as it may conceal actual liquid level changes.
Focus on Checking Radar Probe Installation and Echo Quality
Installation Position Directly Affects Measurement Stability
Radar probes should be installed away from inlet ports, agitators, coils, ladders, level switches, and vessel walls whenever possible. Fixed obstacles within the antenna beam range can easily produce false echoes, causing the liquid level to remain at a fixed position or fluctuate slightly with operating conditions. The area in front of the antenna at the installation opening should remain unobstructed.
For cylindrical storage tanks, the probe is generally not recommended to be installed at the exact center of the tank or too close to the tank wall. The installation distance must be determined according to the antenna type, tank diameter, and measurement range. In applications involving stilling wells, standpipes, or bypass pipes, also confirm whether the pipe diameter, vent holes, and internal scaling meet measurement requirements.
Installation flanges, threaded connections, and sealing gaskets should remain secure. Probe tilt, flange deformation, or non-compliant antenna insertion length may change the transmission direction. If new issues arise after maintenance, first confirm that the installation has been restored correctly rather than directly concluding that the sensor has failed.
Address the Effects of Foam, Material Buildup, and Condensation
Thick foam significantly attenuates radar echoes, especially under conditions involving low-dielectric-constant media, light foam, or intense agitation. If signal quality remains low as the liquid level changes, check the echo curve, signal-to-noise ratio, and echo locking status according to instrument functions. If necessary, adjust the measurement mode or select a sensor solution better suited to foaming conditions.
Oil contamination, crystallization, dust, or material buildup on the antenna surface can weaken transmitted and received signals. After shutting down the equipment and implementing safety measures, use a soft cloth suitable for the antenna material for cleaning. Avoid using hard tools to scratch the lens, horn opening, or sealing surface. After cleaning, recheck measurement value stability.
High-temperature steam, day-night temperature differences, or humid environments may cause condensation in the wiring chamber and antenna area. Check the sealing ring, cable gland, drip loop, and dryness of the wiring chamber. If water ingress, green terminal corrosion, or reduced insulation is found, promptly replace moisture-affected components and check the sealing direction at cable entries.
Reference for Handling On-Site Echo Abnormalities
Complete Retesting, Documentation, and Technical Support Coordination
Verification Steps After Restoring Operation
After fault handling, verify the local display, 4~20mA output, control room engineering value, and alarm status simultaneously. Comparison is recommended at least under three conditions: low level, medium level, and high level. For equipment where the liquid level cannot be changed, use the analog output function to verify the remote transmission loop and control system conversion.
During retesting, observe trend changes for no less than 15 minutes. If the liquid level is stable but signal fluctuation exceeds 2% of the range, continue checking grounding, interference, echo quality, and installation conditions. For vessels with agitation or periodic feeding, verification should cover equipment operating conditions.
It is recommended to establish instrument maintenance records that include at least the instrument model, range, installation position, supply voltage, communication parameters, fault codes, corrective measures, and retest results. If similar abnormalities occur again, this information can help quickly determine whether they are recurring operating-condition issues and shorten downtime troubleshooting time.
Situations Requiring Further Technical Support
When the power supply is confirmed normal, the loop has no open circuit, communication parameters are correct, the probe is clean, and installation conditions have no obvious issues, but the instrument continues to lose echoes, output fault current, or cannot enter the setup menu, stop repeated disassembly and reinstallation to avoid expanding the scope of the fault.
When contacting technical personnel, it is recommended to prepare photos of the instrument nameplate and wiring, alarm codes, the actual medium name, vessel height, installation method, local display value, measured current value, and control system screenshots. The more complete the information, the easier it is to determine whether parameter restoration, on-site rectification, or sensor inspection is required.
Xi'an Shenghongchuang Instrumentation Co., Ltd. can provide troubleshooting recommendations based on the level gauge model, site operating conditions, and remote transmission method. If an abnormal signal occurs in a radar remote digital level gauge, first complete the basic checks above and organize the site data before contacting technical support, so that stable measurement can be restored as soon as possible.
Related Recommendations
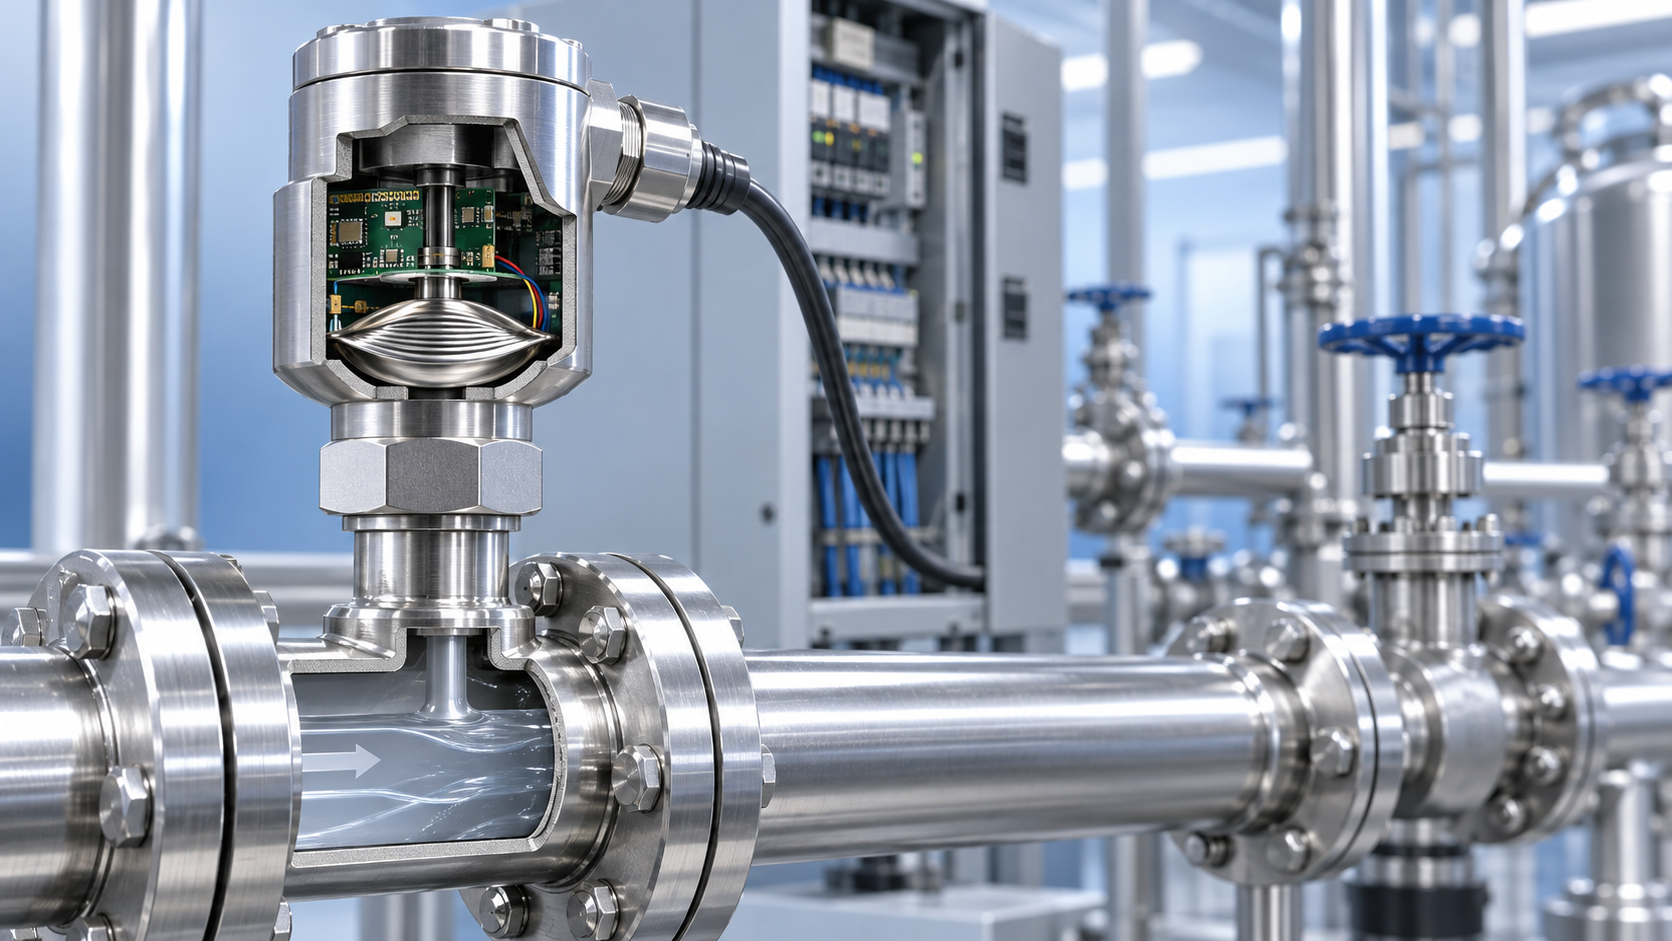
 How does a pressure sensor convert changes in applied force into usable electrical signals?
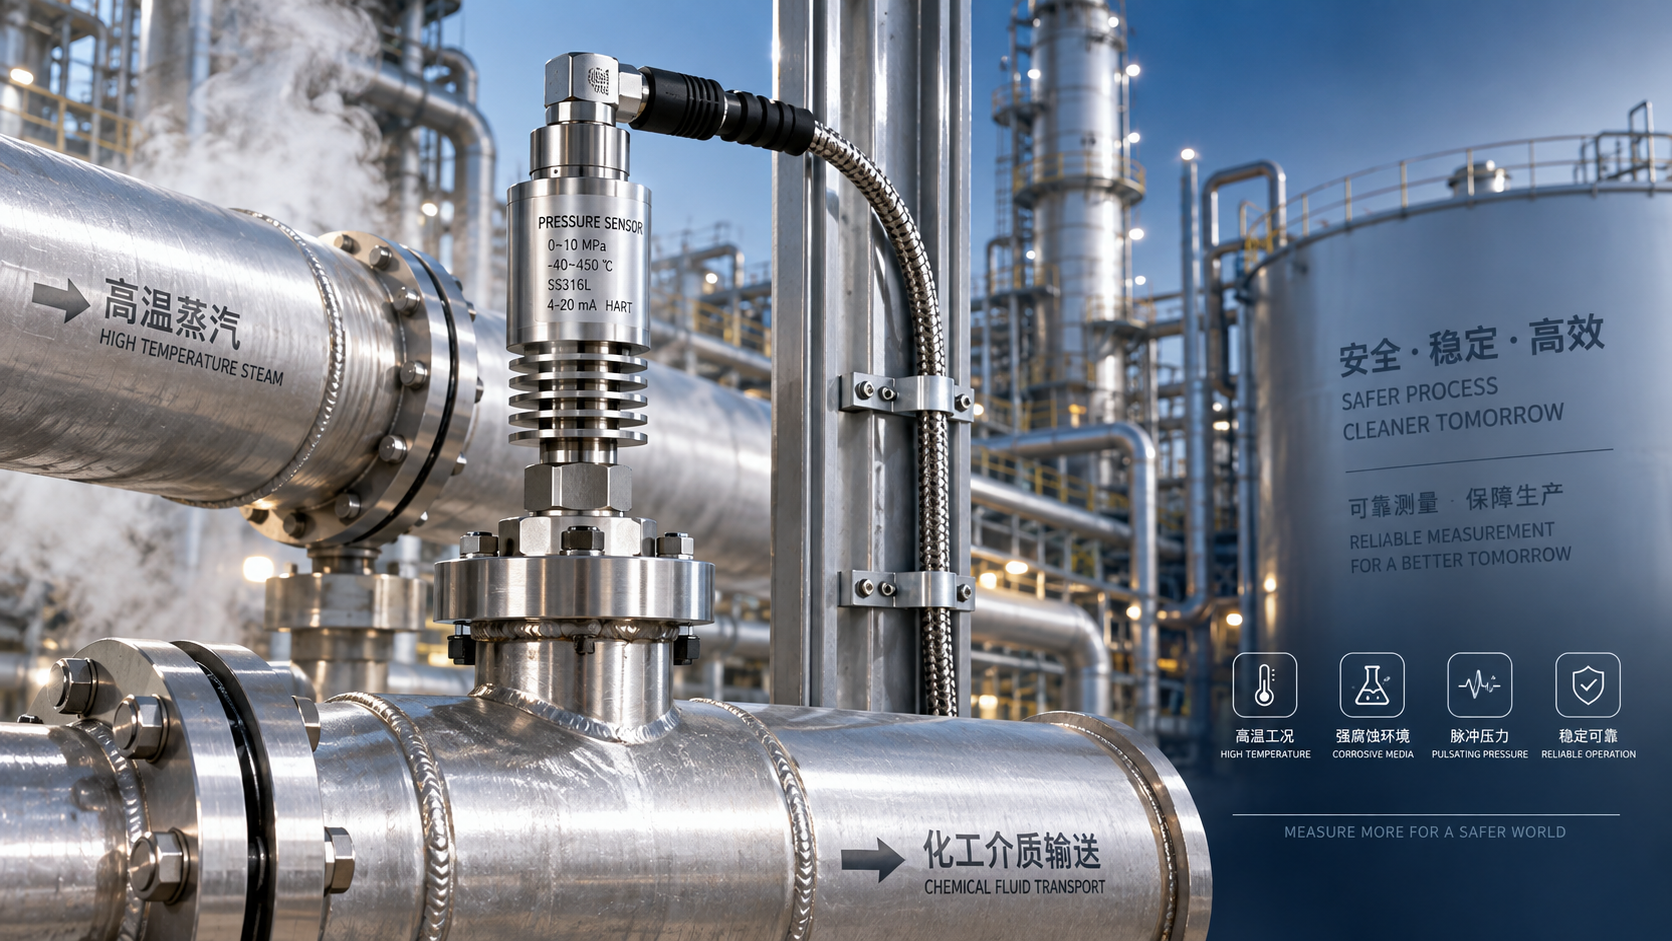
 Which parameters should be considered when selecting pressure sensors for high-temperature, corrosive, and pulsating operating conditions?
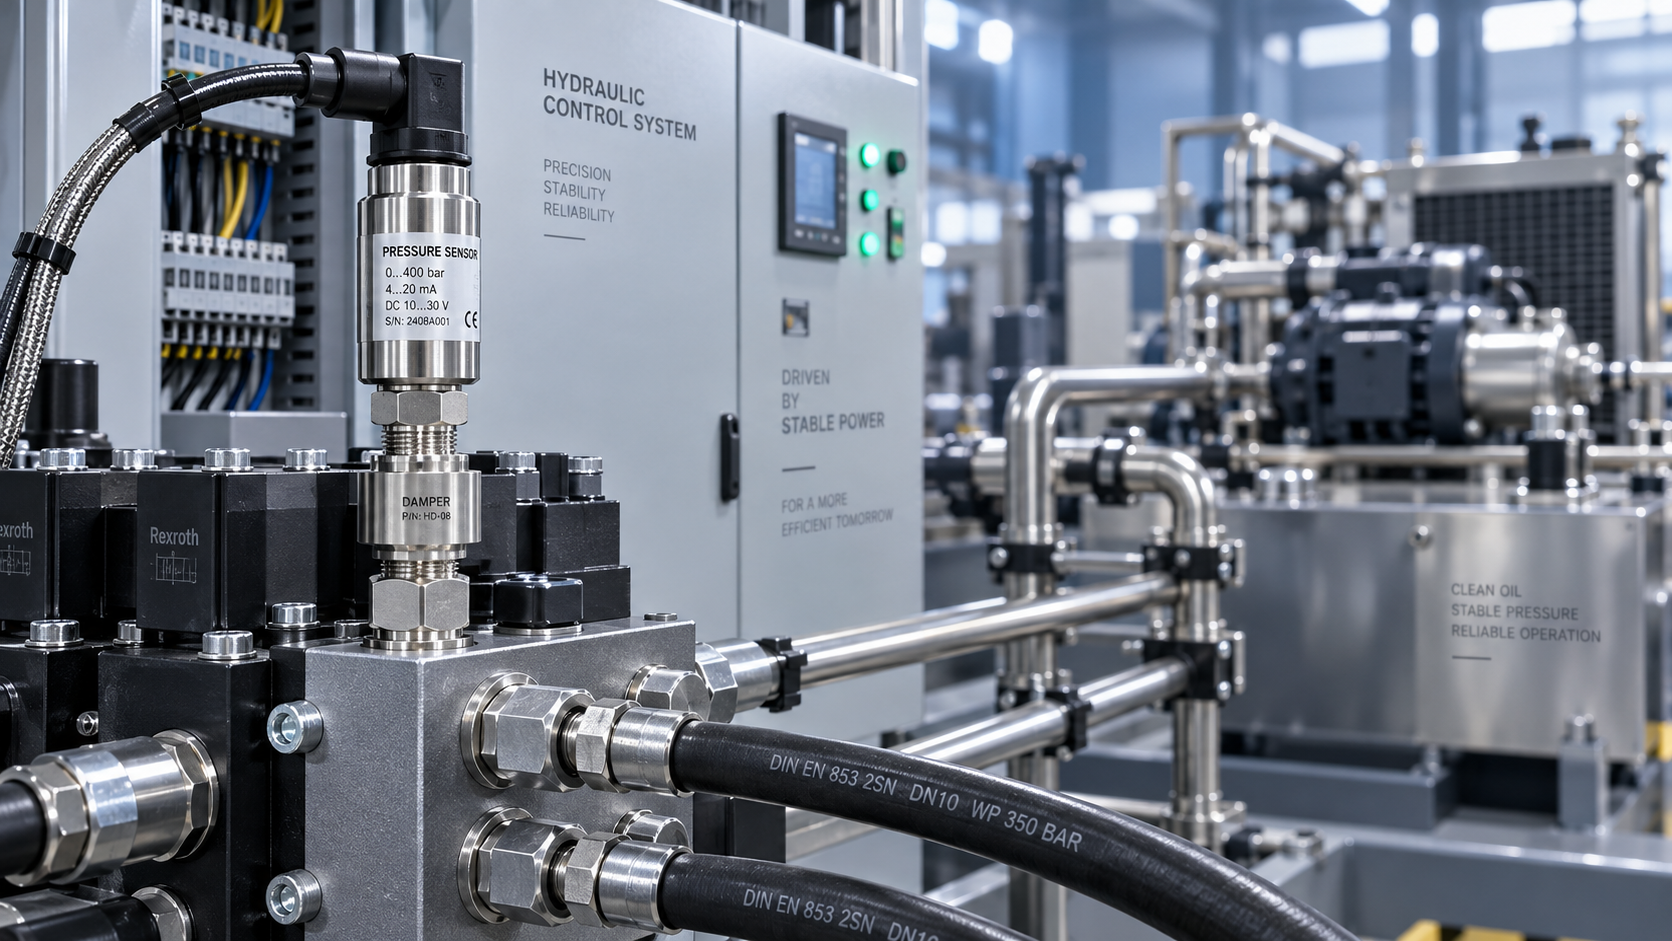
 Hydraulic equipment pressure fluctuates frequently. How can sensors be configured to improve control stability?
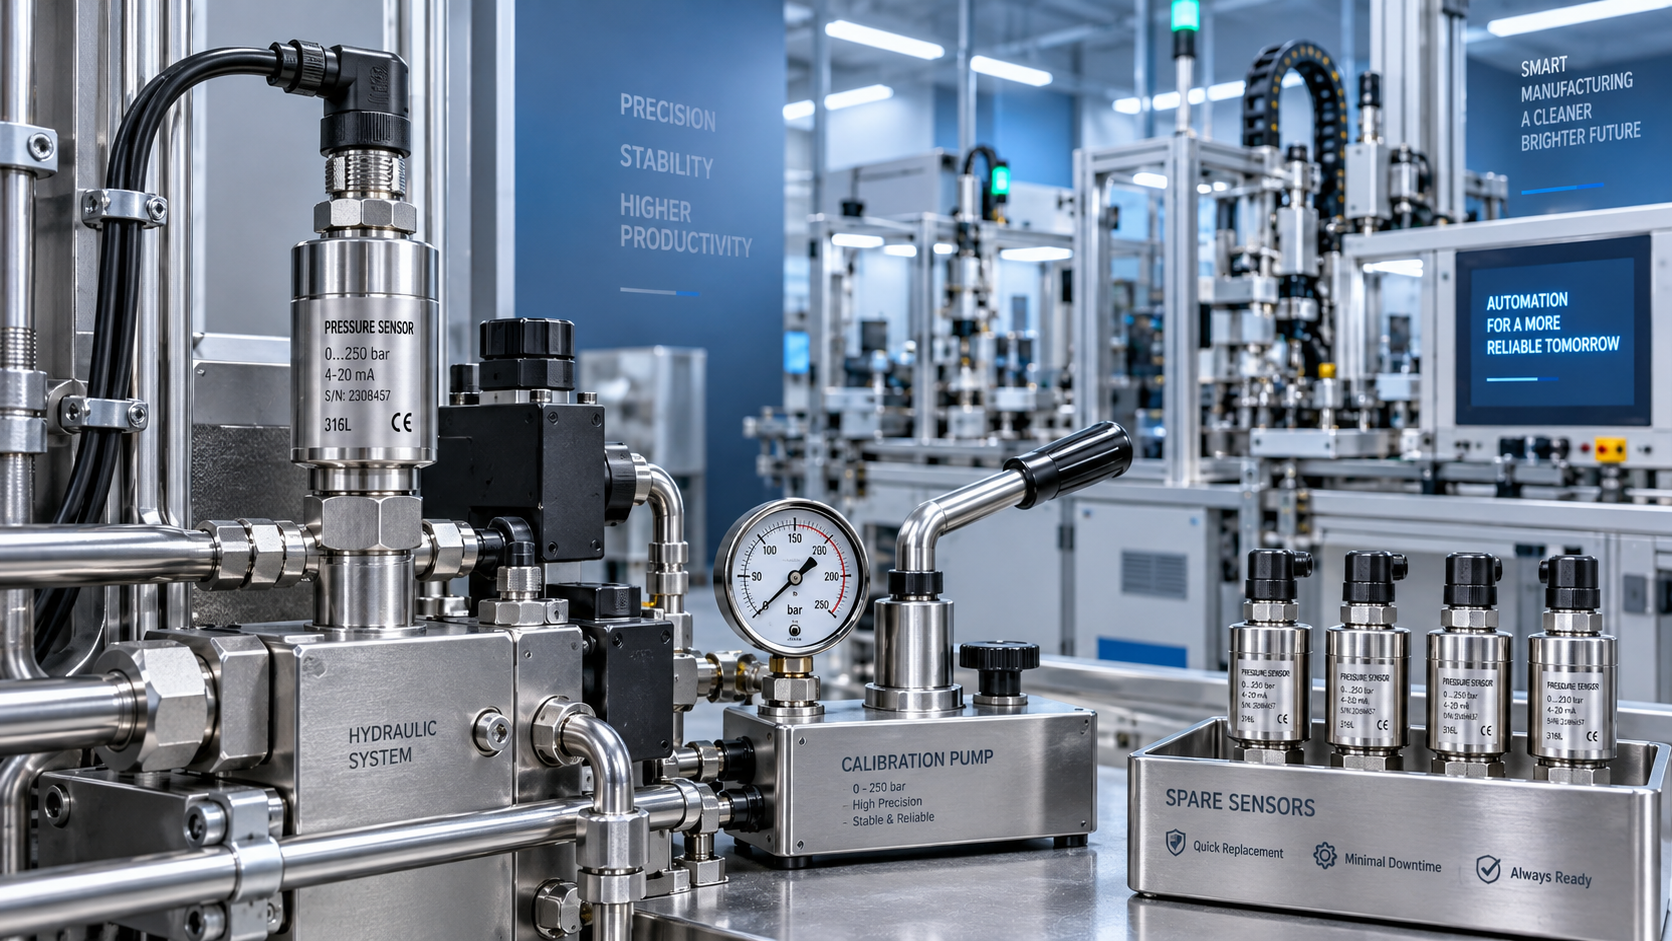
 When purchasing pressure sensors, how can you evaluate service life and total maintenance costs beyond the unit price?